Table of Contents
Introduction
In this tutorial, we will install the CyberPanel with OpenLiteSpeed server on a simple cloud server running Ubuntu 20.04 or 18.04.
- Deploying Cloud Server
- Installing CyberPanel
- Accessing the admin panel
- Setting up a hostname domain and SSL
- Accessing CyberPanel on secure URL
- Creating a website in CyberPanel
- Installing WordPress with LSCache
Deploying Cloud Server
Go ahead and deploy a new UpCloud server with Ubuntu 20.04 or 18.04 by logging in to your UpCloud Control Panel and clicking Deploy server. If you are new to UpCloud, you can get started with the free trial by signing up.
The deployment page shows a number of options for customizing a new Cloud Server.
- Choose the server location from the available data centres
- Pick a configuration, the $5 per month plan is a good starting point
- Select Ubuntu 20.04 or 18.04 for the operating system
- Add any SSH keys you want to use
- Give your server a hostname and description
- Deploy!
You can find more detailed instructions on server deployment at the UpCloud newcomer’s tutorials.
Once you’ve deployed your server, connect to your cloud server using your preferred SSH client.
Installing CyberPanel
When logging into a fresh deployment for the first time, it’s always recommended to make sure you are running the latest software and security patches. Update and upgrade the packages list on the server with the following command.
sudo apt-get update && sudo apt-get upgrade -y
Next, to install CyberPanel you’ll need to download the installation script. You can do this for example in the /tmp folder which is cleaned up automatically at each reboot. Change into the directory then use wget to down the install script with the commands below.
cd /tmp
wget -O installer.sh https://cyberpanel.net/install.sh
The installation script needs to be made executable. Change the file permissions of the script we just downloaded using chmod as shown underneath.
chmod +x installer.sh
Then run the installer using the next command.
sh installer.sh
Once you run the script, the shell will take you through the installation and ask to input preferences. You can do that as below.
~~~~~~~~~~
Github URL: github.com/usmannasir/cyberpanel
Github Content URL: raw.githubusercontent.com/usmannasir/cyberpanel
Github Branch: v2.0.3
~~~~~~~~~~

Initializing...
Valid IP detected...
Checking server...
Checking OS...
Detecting Ubuntu 20.04 ...
Checking virtualization type...
Checking root privileges...
You are runing as root...

CyberPanel Installer v2.03

  1. Install CyberPanel.
  2. Addons and Miscellaneous
  3. Exit.

  Please enter the number[1-3]: 1
Type 1 and press enter to select to Install CyberPanel.
CyberPanel Installer v2.03

  RAM check : 152/981MB (15.49%)
  Disk check : 2/25GB (10%) (Minimal 10GB free space)
  1. Install CyberPanel with OpenLiteSpeed.
  2. Install Cyberpanel with LiteSpeed Enterprise.
  3. Exit.

  Please enter the number[1-3]: 1
To install CyberPanel with OpenLiteSpeed (free version), choose 1. In case you have a license of the LiteSpeed Enterprise server, feel free to choose 2 instead.
If you’re not sure which one you should select, simply choose 1 and fill up the license later.
Afterwards, answer the remaining questions as shown below.
Install Full service for CyberPanel? This will include PowerDNS, Postfix and Pure-FTPd.
Full installation [Y/n]: Y
Type Y and press enter to install full-service CyberPanel that will include DNS Manager, File Manager, Database manager, and Email server as well.
Do you want to setup Remote MySQL? (This will skip installation of local MySQL)
(Default = No) Remote MySQL [y/N]:  N
Remote MySQL is used very rarely. In most cases, you have the database server on the same machine called the localhost. To choose localhost for your database, Type N and press enter.
Press Enter key to continue with the latest version or Enter a specific version such as: 1.9.4 , 2.0.1 , 2.0.2 ...etc.
When asked to select the installed version, simply press enter to use the latest version.
Please choose to use default admin password 1234567, randomly generate one (recommended) or specify the admin password?
Choose [d]fault, [r]andom or [s]et password: [d/r/s] : S
Setting a unique password is recommended for better security. Type S, press enter. You’ll be prompted to enter a password twice.
Do you wish to install Memcached extension and backend?
Please select [Y/n]: y

Do you wish to install Redis extension and backend?
Please select [Y/n]: y

Would you like to set up a WatchDog (beta) for Web service and Database service?
The watchdog script will be automatically started up after installation and server reboot
If you want to kill the watchdog, run watchdog kill
Please type Yes or no (with capital Y, default Yes):
Yes
After you answer all the questions in the installation wizard the script will take care of the rest. Hold tight for 5-10 minutes as the installer will install and set up CyberPanel for you. Once the installation finishes, you’ll see an output similar to the example below.
CyberPanel Successfully Installed
Current Disk usage : 7/25GB (33%)

Current RAM  usage : 288/981MB (29.36%)

Installation time  : 0 hrs 7 min 16 sec

Visit: https://94.237.110.25:8090
Panel username: admin
Panel password: *****
WebAdmin console username: admin
WebAdmin console password: mSlj3t7lzFIJKwx7
Right after the completion output, the shell asks you to restart the server or continue without restarting the server.
Simply type N and press enter to continue without a restart.
Would you like to restart your server now? [y/N]: N
At this point, you have installed all the required packages and their extensions to host a website with the OpenLiteSpeed server.
Accessing the Admin Panel
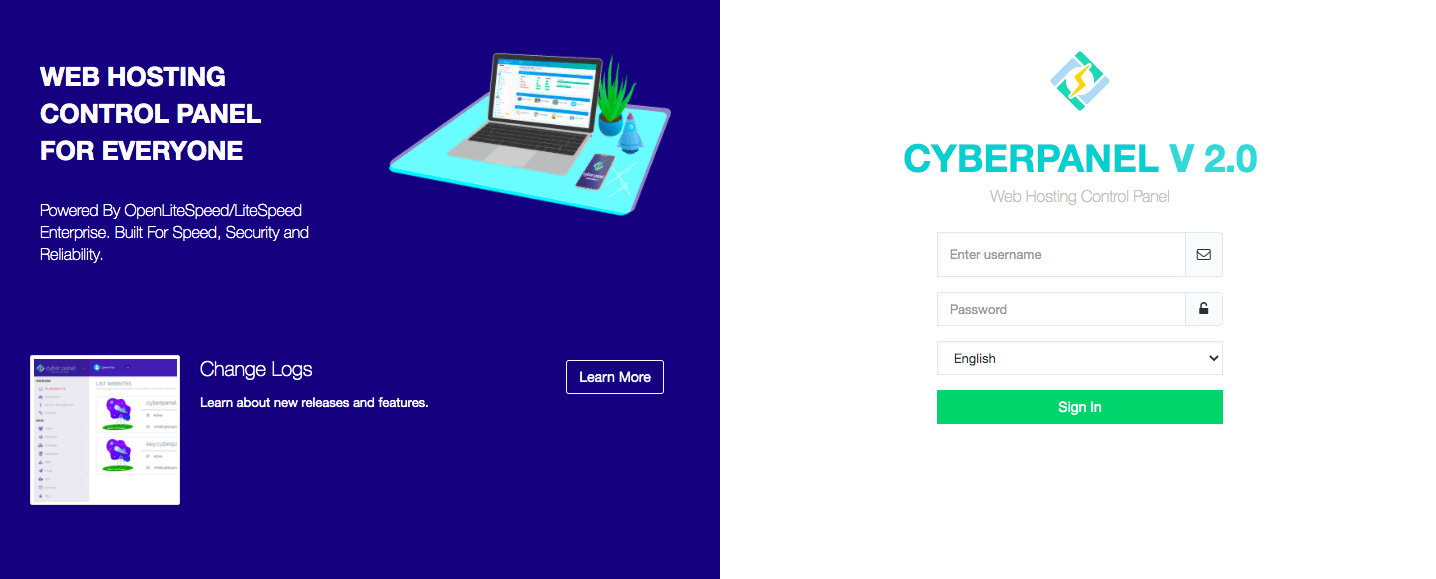
CyberPanel is managed through their easy-to-use but powerful web dashboard. By default, the admin dashboard is accessible via the port 8090. You can visit your admin panel by entering your server IP address in your browser followed by the port number.
Replace 94.237.110.25 with your server’s public IP address.

